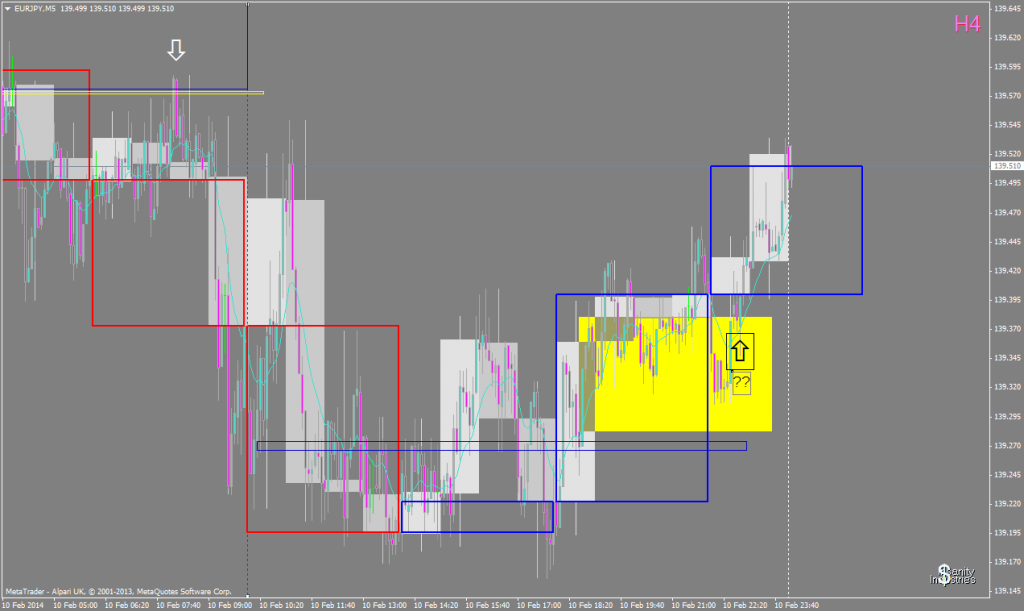
dojirock wrote:Sorry I forgot, the purple boxes are the RB's on the 15 min.
The yellow boxes are the zones produced by the space between the RB's and the Dragon line which is the entry point for initial position. Follow that with the cross over of the 4hour opens/closes to stack.
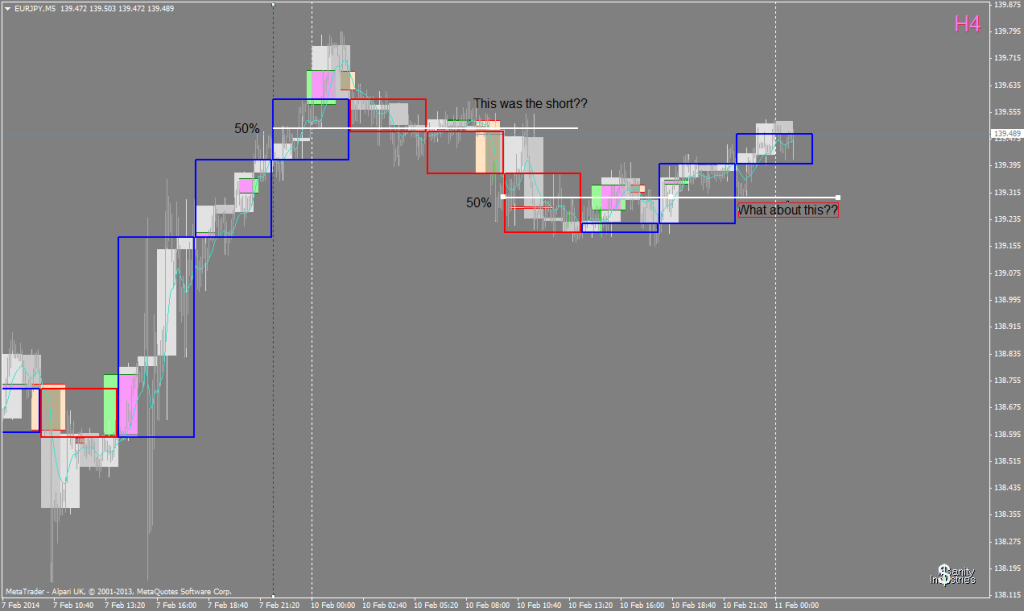
If those yellow zones are created by a Dragon Line from the hourly, meaning an hourly closes against the direction you think it will go, then another in your favour - erm...that's just an RB but on the hourly??
So you're saying red M15 RB overcome by Green H1 RB for long and vice versa for short.
i.e
So you're saying (if going long)
Last short Red M15 RB broken to the upside.
Green RB forms on H1 with the upper side of the box above the upper line of the M15 RB. Yellow box is drawn from upper line of failed M15 red RB to upper line of green RB.
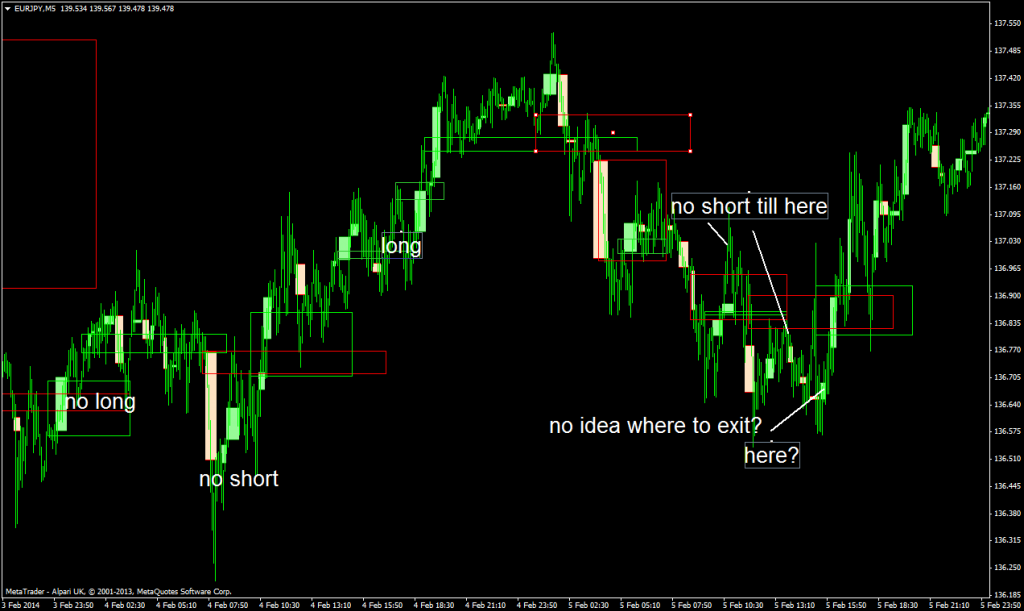
Then when price returns to the yellow box, which is rare...enter somehow on the M5 and then exit God knows where?
I don't know.
I'm still struggling to understand this

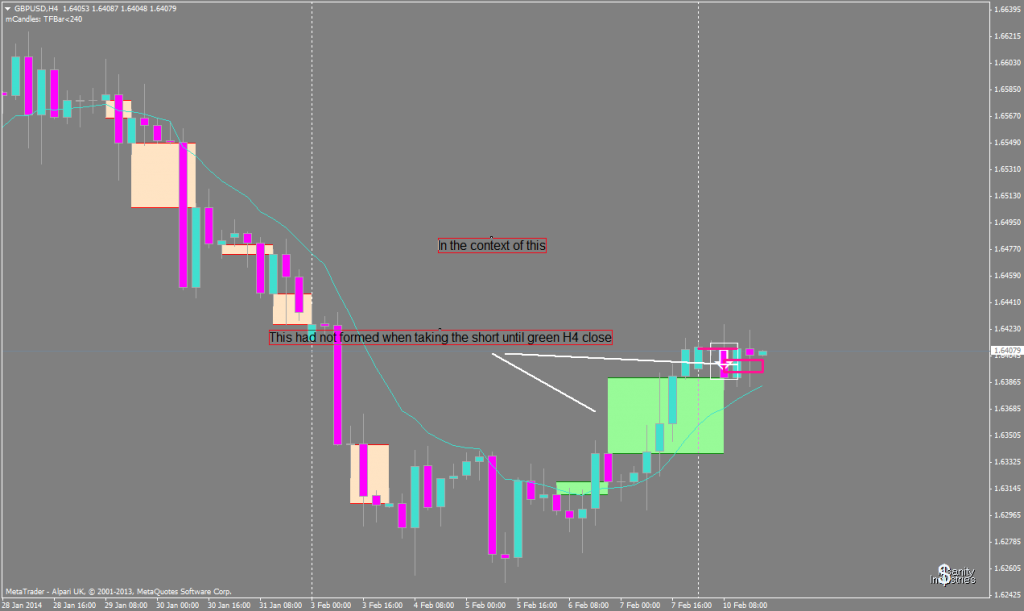
A further issue is, as you know, in this image, even though the yellow box is there, it will not actually have formed into that zone until the green close up is further confirmed by a red close down, in this case the very last momo bar down before direction changed, so in fact where I've put the arrow, there was no entry, the H1 RB had not formed?